There are certain individuals who intentionally opt to encrypt the emails they send for a variety of reasons. By utilizing encryption methods, their main objective is to greatly improve the security and confidentiality of their email communications. This purposeful decision to encrypt emails acts as a proactive step aimed at safeguarding sensitive information and thwarting any unauthorized access to their messages. Through this initiative, individuals can guarantee that their email correspondence is securely protected and shielded from potential threats, thereby maintaining the privacy and integrity of their communication exchanges.
Encrypting emails is a strategic approach employed by individuals who prioritize the protection of their sensitive data. By employing encryption methods, they ensure that their messages are encoded in a way that only authorized recipients can decipher, thereby enhancing the security of their email communication. This deliberate choice to encrypt emails serves as a preemptive step to fortify the confidentiality of their information
Maybe they don’t trust their internet service provider or email host with their private data.
Maybe they want to be more sure their messages won’t fall into the wrong hands while being sent over the net.
Or maybe they just don’t want to make it easy for certain 3 letter government agencies to process, analyze, inspect, evaluate, scrutinize or otherwise read their private personal communications.
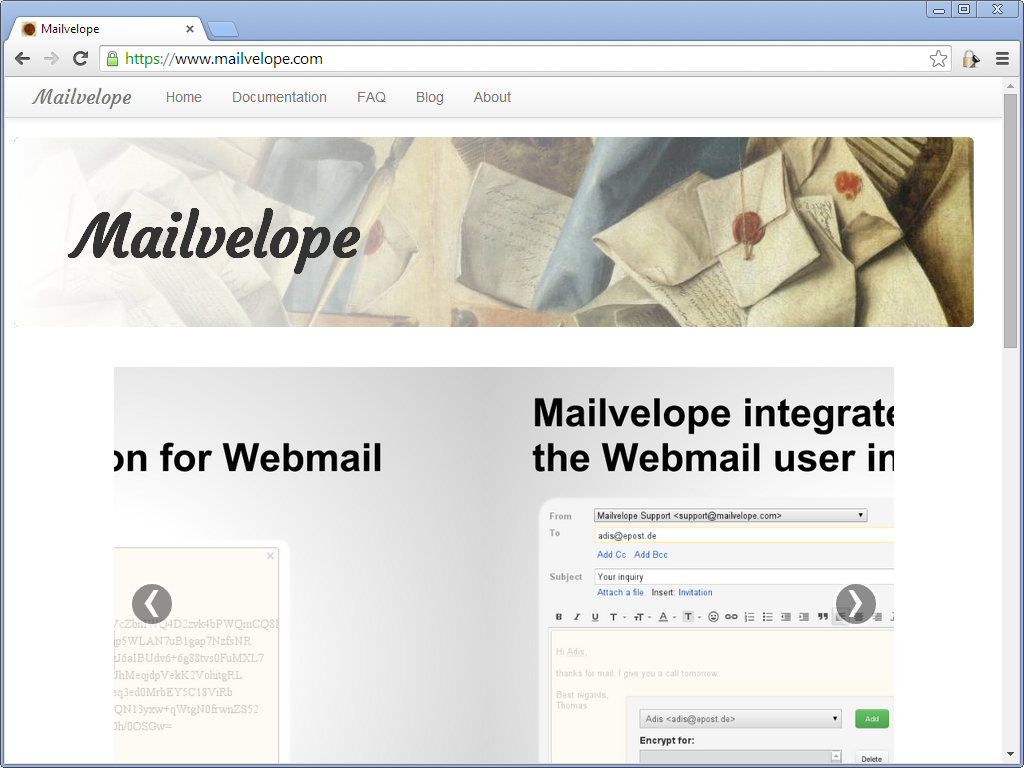
Whatever the reason, it’s easier than ever now to securely encrypt your email thanks to a free and open source browser extension for Firefox and Chrome called Mailvelope.
Unlike most encryption programs, Mailvelope doesn’t force you to use a particular email provider or a separate encryption program. Mailvelope works out-of-the-box with Gmail, Yahool Mail, Outlook.com (formerly Hotmail) and GMX.com. If your preferred email provider isn’t listed, it’s not very hard to add support for it through Mailvelope’s options.
To use Mailvelope, visit the Mailvelope plugin page for Chrome or Firefox depending on your browser. Click the install button and it will do the hard work for you.
After it’s installed you should see a new Mailvelope “lock” icon in your browser. Before you can start encrypting messages you’ll need to click this icon and select “Options” from the menu that appears.
In the Mailvelope options menu, click “Generate Key”. Enter your name and email address, and then enter a passphrase to secure your key. You’ll need to enter this key in order to encrypt messages or decrypt messages you receive.
After you’ve generated your encryption key, you’ll also need to give your public key (which identifies you) to the people you want to send encrypted message to. You can email the key to them, or post it to a keyserver (which is beyond the scope of this article).
To create an encrypted message, simply create a new email as you normally would. So, for example, in Gmail click “Compose”.
In the Compose window you’ll see a new lock icon. Click the icon and a new text entry window will appear. Here you can type the message you want to encrypt.
After you’ve finished typing your message you can click the lock icon in the text entry area to select who you want to send the secure message to. After you’ve select who you want to send the message to Mailvelope will automatically encrypt the message. From there you can click send in your email interface just like you normally would to send a message.
When receiving an incoming encrypted message Mailvelope automatically detects that it is encrypted and tries to decrypt the message for you. After you’v entered your passphrase to unlock your private key Mailvelope will display the decrypted version of the message just like a normal email message.
This may all seem complicated to read, but I assure you it’s actually easier than you think. To download Mailvelope and find additional documentation for how to use it, visit the Mailvelope website.
Want to make sure hackers stay locked out of your computer? Zookaware computer experts are here 24/7 for secure remote technical support.
